VS Code插件配置
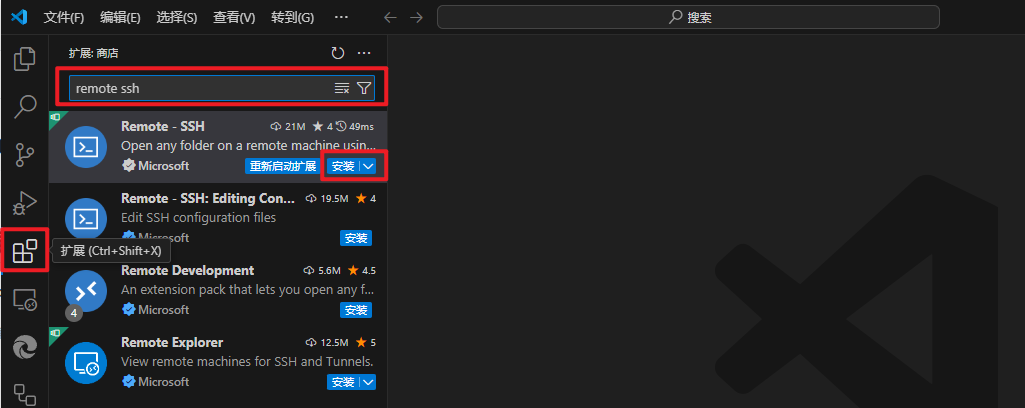
安装Remote ssh插件
打开VS code 点做便便栏的扩展 - 搜索 Remote-ssh 点击安装
服务器配置
安装ssh-server
打开Ubuntu进入系统,安装
openssh-server
sudo apt install openssh-server安装过程
ubuntu@VM-20-3-ubuntu:~$ sudo apt install openssh-server
Reading package lists... Done
Building dependency tree... Done
Reading state information... Done
The following additional packages will be installed:
  openssh-client openssh-sftp-server
Suggested packages:
  keychain libpam-ssh monkeysphere ssh-askpass molly-guard
The following packages will be upgraded:
  openssh-client openssh-server openssh-sftp-server
3 upgraded, 0 newly installed, 0 to remove and 201 not upgraded.
Need to get 1,380 kB of archives.
After this operation, 0 B of additional disk space will be used.
Do you want to continue? [Y/n] y
Get:1 http://mirrors.tencentyun.com/ubuntu jammy-updates/main amd64 openssh-sftp-server amd64 1:8.9p1-3ubuntu0.7 [38.9 kB]
Get:2 http://mirrors.tencentyun.com/ubuntu jammy-updates/main amd64 openssh-server amd64 1:8.9p1-3ubuntu0.7 [435 kB]
Get:3 http://mirrors.tencentyun.com/ubuntu jammy-updates/main amd64 openssh-client amd64 1:8.9p1-3ubuntu0.7 [906 kB]
Fetched 1,380 kB in 1s (1,853 kB/s)
Preconfiguring packages ...
(Reading database ... 88959 files and directories currently installed.)
Preparing to unpack .../openssh-sftp-server_1%3a8.9p1-3ubuntu0.7_amd64.deb ...
Unpacking openssh-sftp-server (1:8.9p1-3ubuntu0.7) over (1:8.9p1-3ubuntu0.6) ...
Preparing to unpack .../openssh-server_1%3a8.9p1-3ubuntu0.7_amd64.deb ...
Unpacking openssh-server (1:8.9p1-3ubuntu0.7) over (1:8.9p1-3ubuntu0.6) ...
Preparing to unpack .../openssh-client_1%3a8.9p1-3ubuntu0.7_amd64.deb ...
Unpacking openssh-client (1:8.9p1-3ubuntu0.7) over (1:8.9p1-3ubuntu0.6) ...
Setting up openssh-client (1:8.9p1-3ubuntu0.7) ...
Setting up openssh-sftp-server (1:8.9p1-3ubuntu0.7) ...
Setting up openssh-server (1:8.9p1-3ubuntu0.7) ...
rescue-ssh.target is a disabled or a static unit not running, not starting it.
ssh.socket is a disabled or a static unit not running, not starting it.
Processing triggers for man-db (2.10.2-1) ...
Processing triggers for ufw (0.36.1-4build1) ...
Scanning processes...
Scanning candidates...
Scanning linux images...

Running kernel seems to be up-to-date.

No services need to be restarted.

No containers need to be restarted.

No user sessions are running outdated binaries.

No VM guests are running outdated hypervisor (qemu) binaries on this host.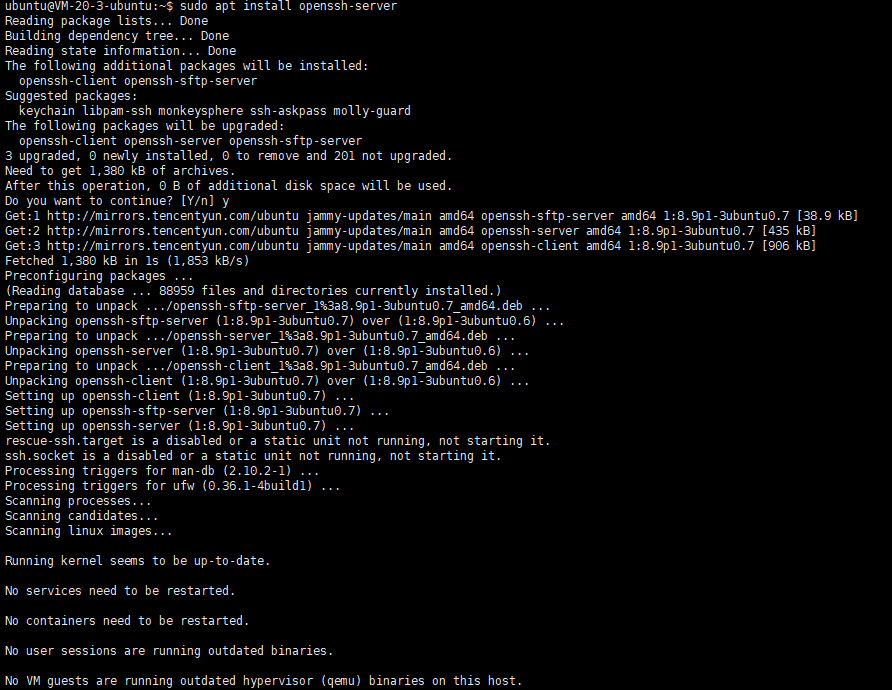
安装文本编辑器 VIM
sudo apt install vim -y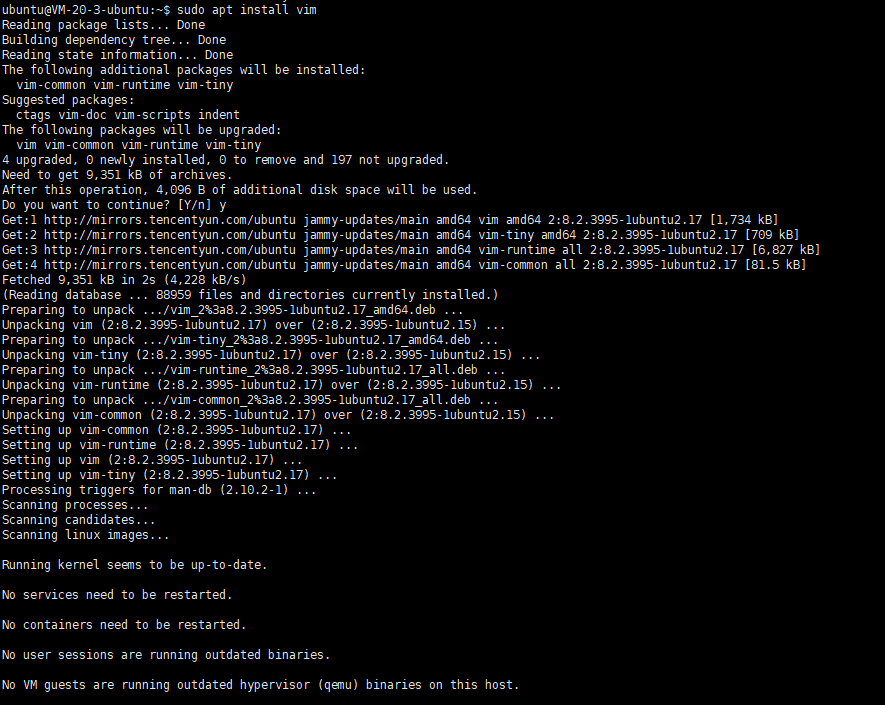
编辑sshd_config配置文件
sudo vim /etc/ssh/sshd_config找到
#PermitRootLogin prohibit-password这行注释,并向下复制一行修改为PermitRootLogin yes并取消注释,按esc输入 : 并输入wq回车保存退出。
配置文件修改
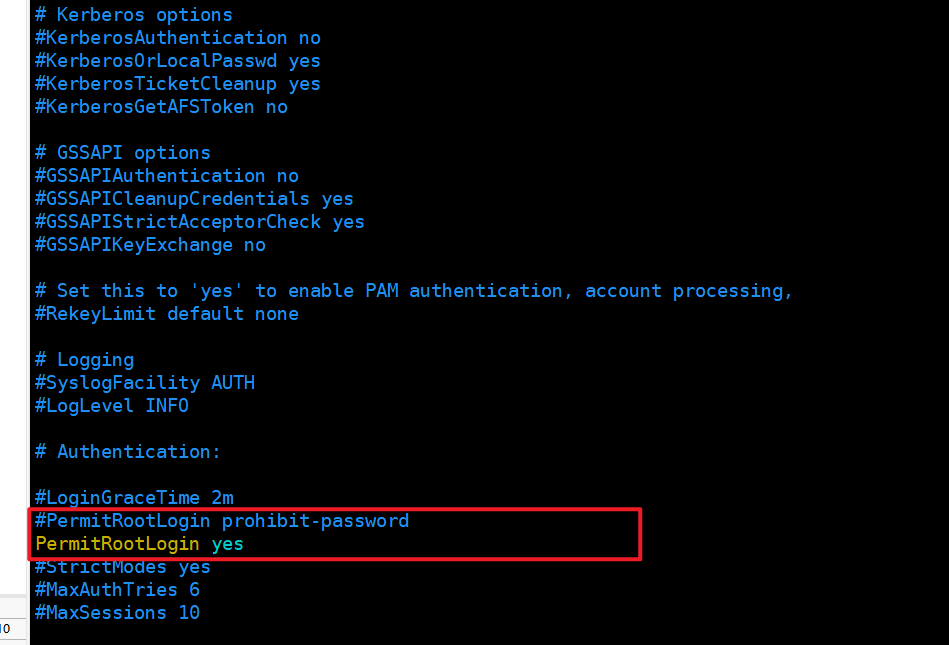
保存并退出
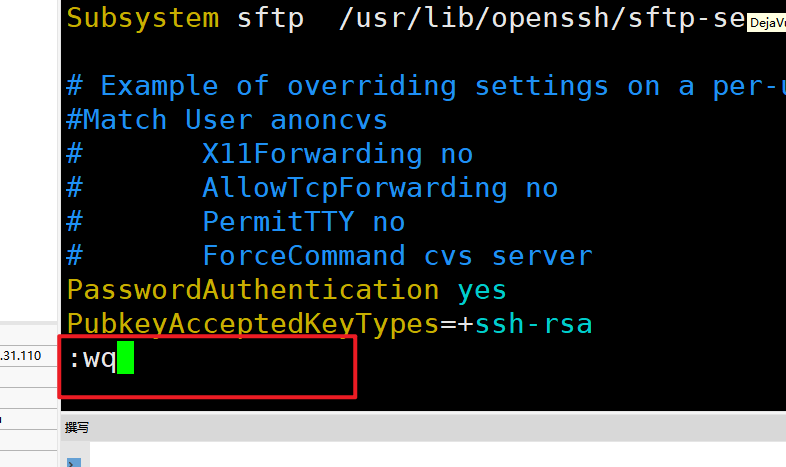
完整修改后的配置文件(Ubuntu系统)
# Kerberos options
#KerberosAuthentication no
#KerberosOrLocalPasswd yes
#KerberosTicketCleanup yes
#KerberosGetAFSToken no

# GSSAPI options
#GSSAPIAuthentication no
#GSSAPICleanupCredentials yes
#GSSAPIStrictAcceptorCheck yes
#GSSAPIKeyExchange no

# Set this to 'yes' to enable PAM authentication, account processing,
#RekeyLimit default none

# Logging
#SyslogFacility AUTH
#LogLevel INFO

# Authentication:

#LoginGraceTime 2m
#PermitRootLogin prohibit-password
PermitRootLogin yes
#StrictModes yes
#MaxAuthTries 6
#MaxSessions 10

#PubkeyAuthentication yes

# Expect .ssh/authorized_keys2 to be disregarded by default in future.
#AuthorizedKeysFile     .ssh/authorized_keys .ssh/authorized_keys2

#AuthorizedPrincipalsFile none

#AuthorizedKeysCommand none
#AuthorizedKeysCommandUser nobody

# For this to work you will also need host keys in /etc/ssh/ssh_known_hosts
#HostbasedAuthentication no
# Change to yes if you don't trust ~/.ssh/known_hosts for
# HostbasedAuthentication
#IgnoreUserKnownHosts no
# Don't read the user's ~/.rhosts and ~/.shosts files
#IgnoreRhosts yes

# To disable tunneled clear text passwords, change to no here!
#PasswordAuthentication yes
#PermitEmptyPasswords no

# Change to yes to enable challenge-response passwords (beware issues with
# some PAM modules and threads)
KbdInteractiveAuthentication no

# Kerberos options
#KerberosAuthentication no
#KerberosOrLocalPasswd yes
#KerberosTicketCleanup yes
#KerberosGetAFSToken no

# GSSAPI options
#GSSAPIAuthentication no
#GSSAPICleanupCredentials yes
#GSSAPIStrictAcceptorCheck yes
#GSSAPIKeyExchange no

# Set this to 'yes' to enable PAM authentication, account processing,
# and session processing. If this is enabled, PAM authentication will
# be allowed through the KbdInteractiveAuthentication and
# PasswordAuthentication.  Depending on your PAM configuration,
# PAM authentication via KbdInteractiveAuthentication may bypass
# the setting of "PermitRootLogin without-password".
# If you just want the PAM account and session checks to run without
# PAM authentication, then enable this but set PasswordAuthentication
# and KbdInteractiveAuthentication to 'no'.
UsePAM yes

#AllowAgentForwarding yes
#AllowTcpForwarding yes
#GatewayPorts no
X11Forwarding yes
#X11DisplayOffset 10
#X11UseLocalhost yes
#PermitTTY yes
PrintMotd no
#PrintLastLog yes
#TCPKeepAlive yes
#PermitUserEnvironment no
#Compression delayed
#ClientAliveInterval 0
#ClientAliveCountMax 3
#UseDNS no
#PidFile /run/sshd.pid
#MaxStartups 10:30:100
#PermitTunnel no
#ChrootDirectory none
#VersionAddendum none

# no default banner path
#Banner none

# Allow client to pass locale environment variables
AcceptEnv LANG LC_*

# override default of no subsystems
Subsystem sftp  /usr/lib/openssh/sftp-server

# Example of overriding settings on a per-user basis
#Match User anoncvs
#       X11Forwarding no
#       AllowTcpForwarding no
#       PermitTTY no
#       ForceCommand cvs server
PasswordAuthentication yes
PubkeyAcceptedKeyTypes=+ssh-rsa
查看sshd服务是否起来
sudo systemctl status sshd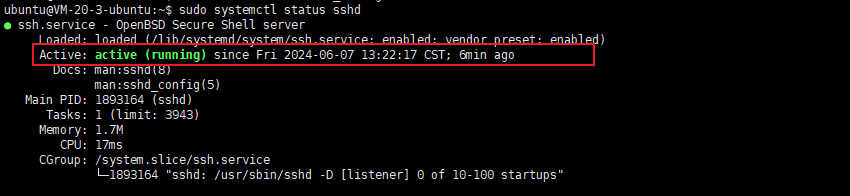
使用VS code测试连接
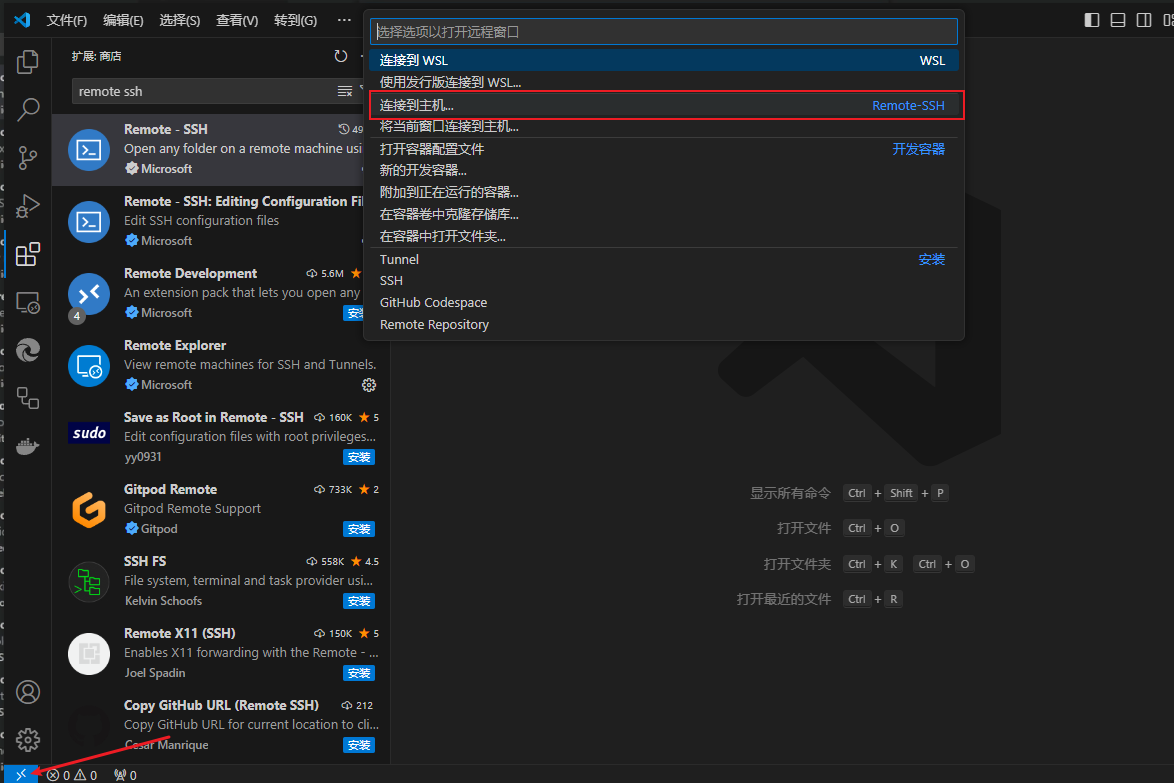
输入ssh 服务器用户名@服务器IP地址,按回车输入密码

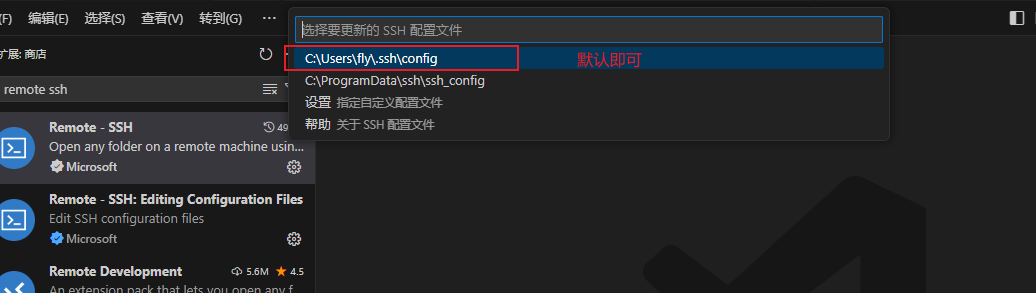
选择一个位置保存SSH配置文件,默认即可
输入密码后登录服务器(我这里已经保存过密码了没有弹出输入密码的页面)
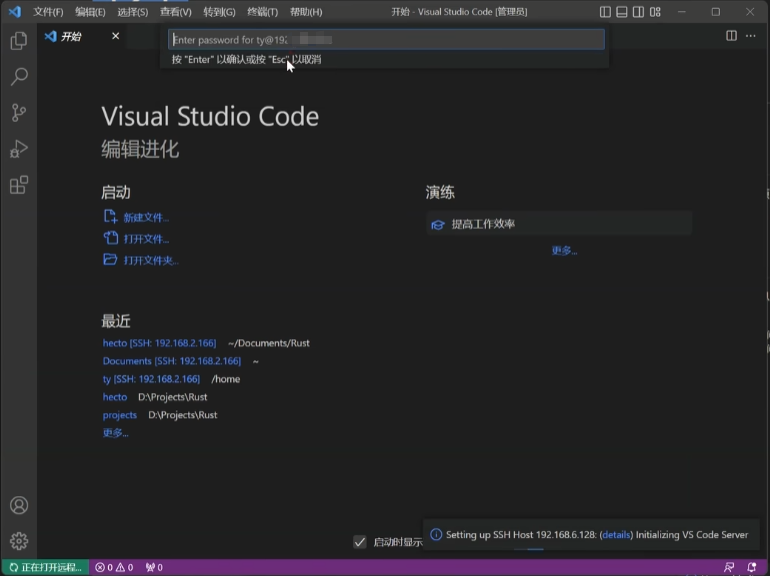
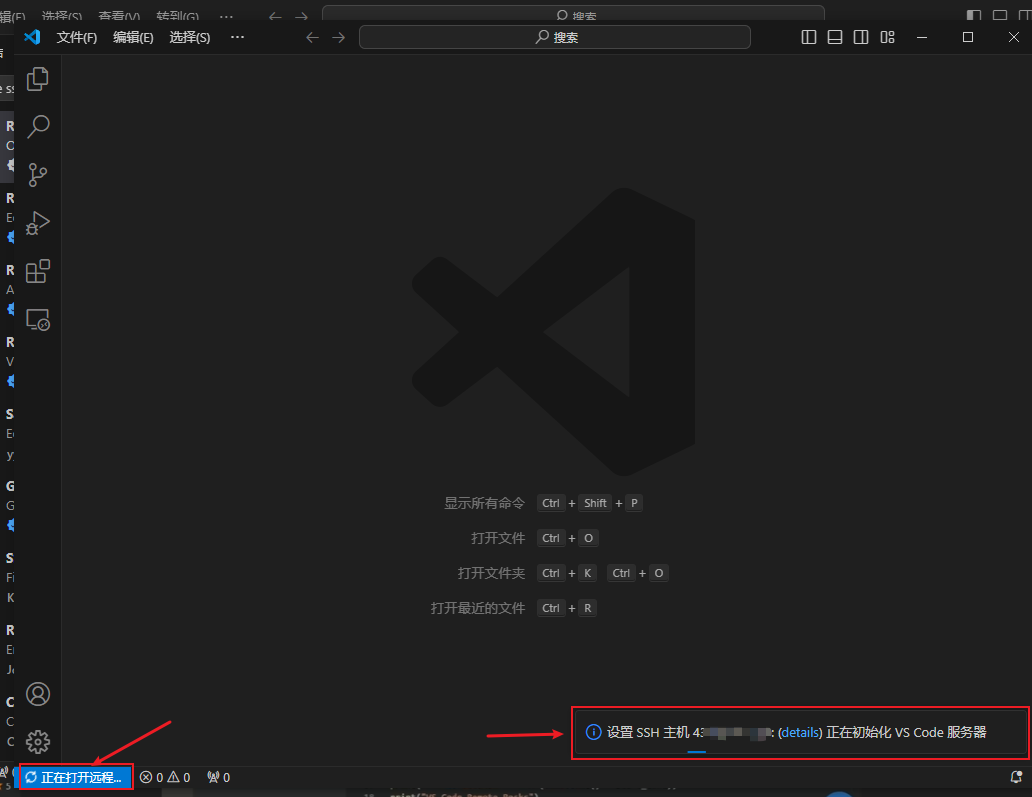
以上就已经成功设置好了通过VS code远程登录服务器
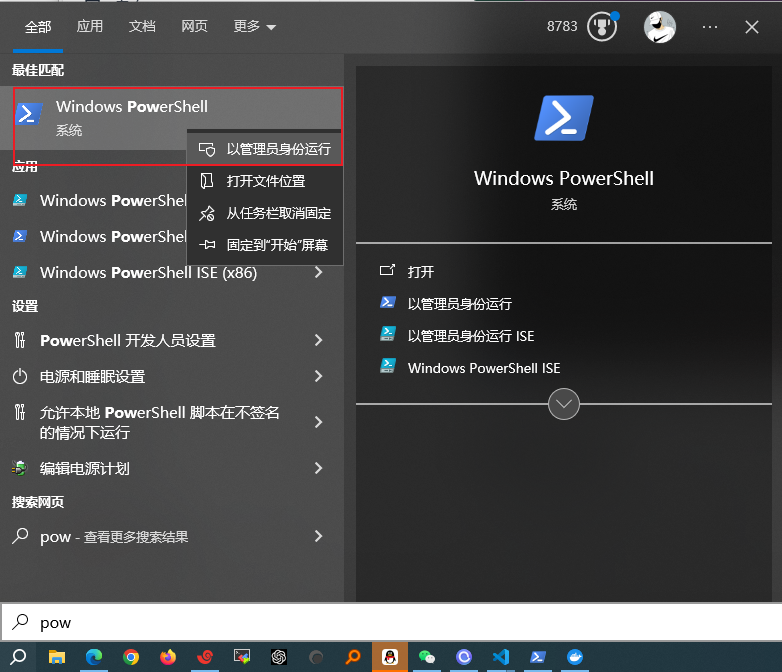
免密登录设置
打开管理员: Windows PowerShell
在Windows上生成一个密钥
ssh-keygen -t rsa -C "xxx@xxx.com"按三次回车即可,中途不需要输入任何参数。
PS C:\windows\system32> ssh-keygen -t rsa -C "xxx@xxx.com"
Generating public/private rsa key pair.
Enter file in which to save the key (C:\Users\fly/.ssh/id_rsa):
Enter passphrase (empty for no passphrase):
Enter same passphrase again:
Your identification has been saved in C:\Users\fly/.ssh/id_rsa.
Your public key has been saved in C:\Users\fly/.ssh/id_rsa.pub.
The key fingerprint is:
SHA256:W1mqJxIx7rKGnb12Nif6/H0TI07vvD1CPrGnsDQm70s xxx@xxx.com
The key's randomart image is:
+---[RSA 3072]----+
|                 |
|                 |
|      o     .    |
|     . o   +     |
|      o S +      |
|     . . +  ooo  |
|   o.oo +..Eoooo |
|  . +ooo=oB.=*++ |
|   ...o*o=o=o+Ooo|
+----[SHA256]-----+
把密钥传输到服务器
密钥位置
Your public key has been saved in C:\Users\fly/.ssh/id_rsa.pub通过scp把文件传输到服务器,请把“ubuntu”@“43.xxx.xx.xxx”:~ 请把引号的服务器用户名跟IP地址替换为你服务器的信息,输入服务器密码后传输完成。
scp C:\Users\fly/.ssh/id_rsa.pub ubuntu@43.xxx.xx.xxx:~
ubuntu@43.136.31.110's password:
id_rsa.pub
在服务器上面也生成一个密钥
密钥生成跟Windows一样
ssh-keygen -t rsa -C "xxx@xxx.com"ubuntu@VM-20-3-ubuntu:~$ ssh-keygen -t rsa -C "xxx@xxx.com"
Generating public/private rsa key pair.
Enter file in which to save the key (/home/ubuntu/.ssh/id_rsa):
Enter passphrase (empty for no passphrase):
Enter same passphrase again:
Your identification has been saved in /home/ubuntu/.ssh/id_rsa
Your public key has been saved in /home/ubuntu/.ssh/id_rsa.pub
The key fingerprint is:
SHA256:9wVTC/I6M92K+679WK+wZdP+bxDsk0WB/PfX2PmVIyI xxx@xxx.com
The key's randomart image is:
+---[RSA 3072]----+
| . o o..|
| o = ..|
| +.o. |
| o +o.o|
| S * ..o**|
| E B +*=*|
| o = *o*|
| o B +o|
| o+*.ooB|
+----[SHA256]-----+
使用ls 查看密钥位置
ubuntu@VM-20-3-ubuntu:~$ ls
id_rsa.pub
把密码使用追加的方式写入
authorized_keys这个配置文件这个文件的位置在cd ~/.ssh/
cat id_rsa.pub >> ~/.ssh/authorized_keys以上就是就是完整的VS Code通过SSH连接Ubuntu进行远程开发教程。